As an Amazon Associate I earn from qualifying purchases.
Let’s talk about how to use a camping percolator, but first, why would you even care? Imagine this with me for a moment:
You’re on a weekend-long camping trip with your family and friends, and it couldn’t be going better. You hike for hours, stargaze, and share stories. You feel incredibly connected with the world and fall asleep happier than you’ve been in a while. Yet the next morning you wake up, and your trip turns sour. Maybe you didn’t even think of bringing a coffee maker. Or perhaps you brought one, but you might as well have forgotten it because you don’t actually know how to use a camping percolator.
Then someone saves the day by whipping out sachets of instant coffee. You almost wish they hadn’t, though, because you gag on the cup offered to you as soon as you take your first sip.
You’ve forgotten just horrible instant coffee tastes. In comparison, coffee from a camping percolator would have tasted divine. You vow never to make the same blunder again.
From now on, it’s decent coffee, wherever you go.
What Is a Camping Percolator?
Coffee percolators (or camping percolators) are probably the least fashionable coffee makers on the market today. In the 1970s they were overshadowed by drip coffee machines, whereas today many of us skip learning how to use a camping percolator in favor of learning how to operate a French press or a pour-over coffee maker.
But does that mean that coffee percolators are on their way to becoming obsolete?
Not really.
Just like record players, typewriters, and lunch boxes from the ’60s, coffee percolators are due to become trendy once again, especially on the trail. It’s what your hipster friends will be using to make you a delicious cup of java. And you should follow their lead.
But what is a coffee percolator?
A coffee percolator is nothing more than a pot that consists of a bottom chamber (where you place your water) and an upper, perforated chamber with a lid (where you put your coffee). A vertical tube connects the two parts. As the water heats up, it rises through the vertical tube over the coffee grounds before moving down again shortly.
The whole process is repeated until the coffee blends with the water, creating the perfect brew.
Learning how to use a camping percolator is pretty straightforward. Best of all, if you know how to use a camping percolator you can cut down on other camping equipment. For example, you don’t need to bring an extra pot to boil water.
However, the loose parts of a coffee percolator are easy to displace. Plus, when you’re learning how to use a camping percolator, you might not be too pleased to realize that percolating coffee requires patience and a watchful eye (although some campers find the whole process therapeutic).
The weight can be a bit of an issue too.
How to Use a Camping Percolator
Learning how to use a camping percolator couldn’t be easier. We say “camping percolator,” but you can also go ahead and use a regular coffee percolator, too. They’re really the same thing, although some camping percolators might have some pretty nifty features.
Here’s how to brew a fantastic cup of joe using a percolator:
1. Determine Your Heat Source
If you’re a traditional camper, you probably want to build a campfire. If you’re a modern camper, you more than likely prefer a portable gas stove.
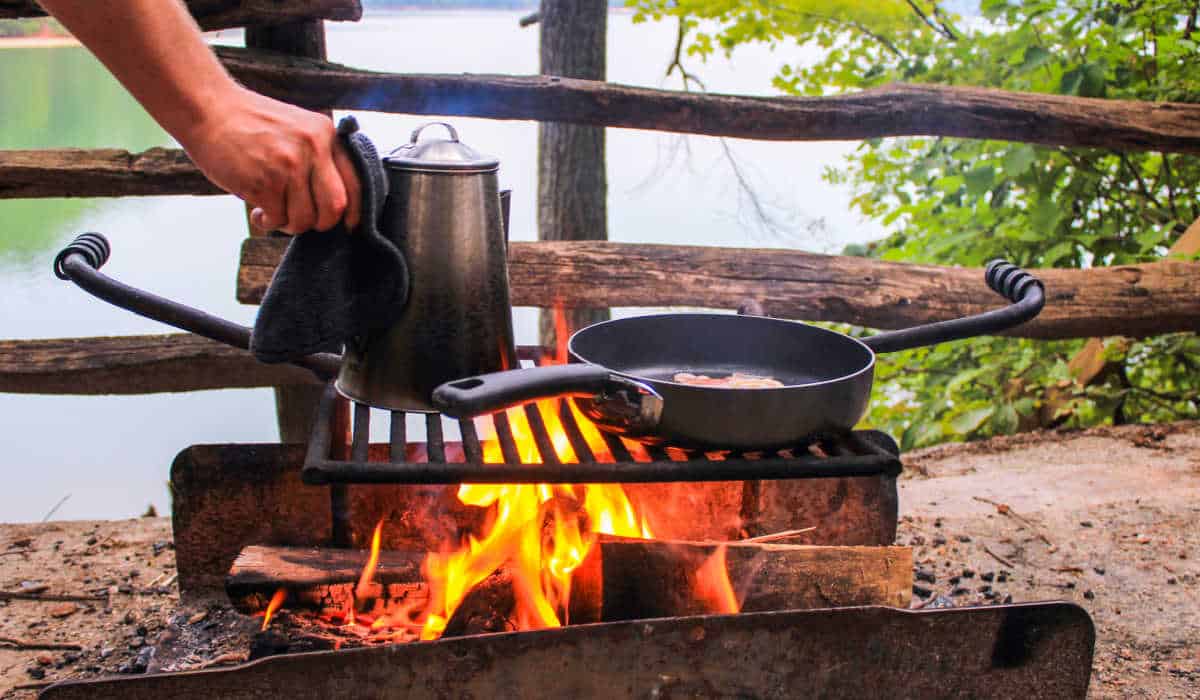
Using a Percolator On A Campfire
Brewing a cup of coffee over a campfire sounds romantic, at least in theory. In reality, it’s annoying, stressful, and requires a fair bit of practice. But once you get the hang of it, you’ll be flying!
Start by making a small campfire that is easy to control. Once the fire is going, you want to place your coffee percolator on a campfire grill grate. Set the grate as high as you can to avoid ruining your coffee.
When the water inside the coffee percolator heats up, it will start to percolate to the top. Move the pot to the side of the campfire and let it brew for an additional few minutes. It will probably require some practice to figure out how to make the brew perfect for you.
Using A Percoaltor On A Camp Stove

Percolating coffee on a portable gas stove is similar to making it over a campfire. The only difference is: when the water starts percolating to the top you want to reduce the heat to a simmer (as opposed to moving the pot to the side) and brew it for several minutes before serving.
2. Add Water
To achieve that perfect brew, you need to add just the right ratio of coffee to water.
Most camping percolators hold between four to eight cups of water. Don’t get overexcited, however: four cups of coffee is less than you think (around two standard-sized mugs).
The amount of water that you’ll need to add will depend on the number of cups you plan on drinking. Generally, it’s six to eight ounces of water per cup.
3. Add Coffee Of Your Choice
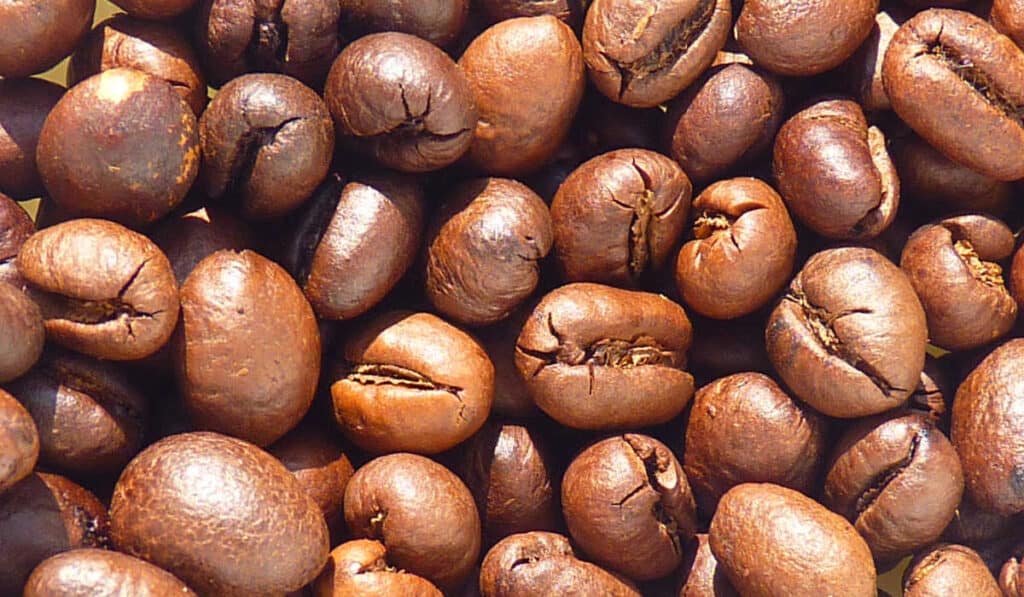
Coffee aficionados recommend using medium roast beans (basically beans that are smooth and low in acidity) in coffee percolators. They claim that light roasts make for less flavorful coffee, whereas dark roasts result in coffee that is incredibly bitter.
Grind size is important too. A coarse grind will make the best cup of coffee. Finely ground beans result in a harsh and bitter-tasting cup.
If you’re going for the full experience, use a portable hand coffee grinder so you can take full beans with you and grind them fresh.
4. Figure Out The Perfect Timing
One of the first few things that will strike you when you’re learning how to use a camping percolator is just how long it takes to brew a cup of coffee. We’re talking for at least 10 to 15 minutes.
And don’t think that you can spend this time doing something else.
You need to watch the pot carefully. The last thing you want to do is overboil it. Overboiling will release bitterness and disguise distinct flavors. Most coffee aficionados agree that water in a coffee percolator should never come to a full boil.
How to know if your coffee is ready?
If the lid of the coffee percolator is vibrating, it’s probably time to take the pot off the heat.
Another way to know is that most percolators have a see-through glass or plastic cover knob that allows you to determine whether coffee is ready or not. If the coffee is too pale, it’s not yet done. If it’s too dark, you’ve let it brew too long.
5. Drink Up!
Once your brew is ready, remove the basket and throw away the grounds. Then, pour yourself a cup and enjoy!
But, heads up: It doesn’t happen too often, but sometimes coffee grounds slip into the brew.
If such a scenario occurs, use a small sieve to re-strain the grounds. Alternatively, you can swirl the pot before you go ahead and pour the coffee, which will cause the floating coffee grounds to settle at the bottom of the pot.
How To Keep Your Camping Percolator Clean
By now you know how to use a camping percolator. But if you want your percolator to last you years, you also need to know how to look after it. Hand washing your coffee percolator after every use will ensure that your coffee will taste superb every time.
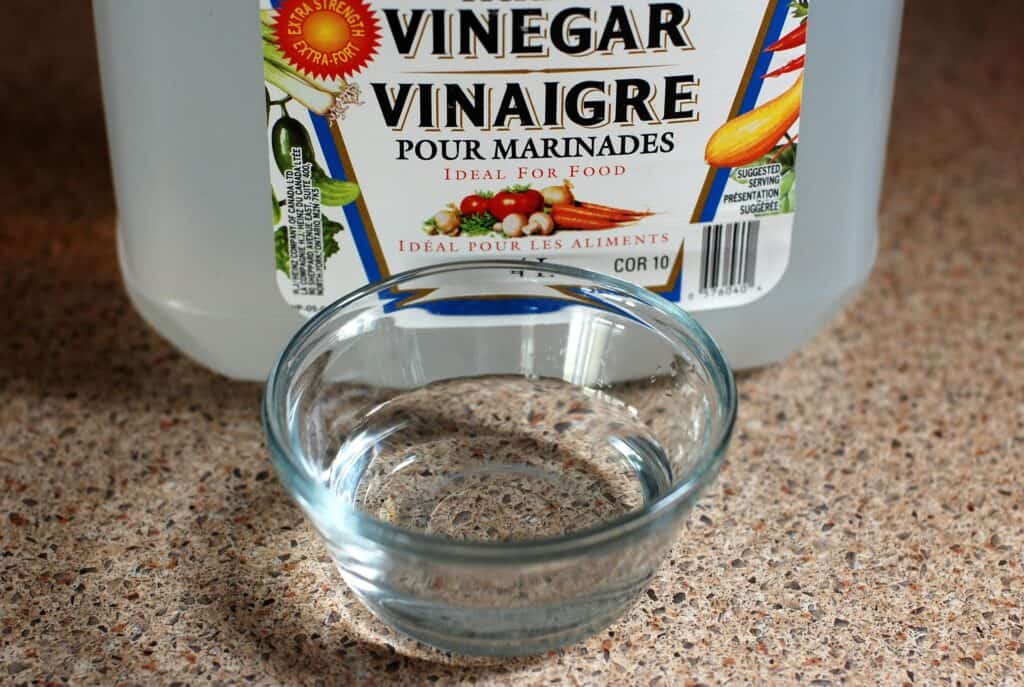
If your percolator develops stains, you can remove them with baking soda and wine vinegar. Just fill your percolator with water, add one-quarter cup of baking soda, and bring the mix to a boil. Then, fill your percolator with water once more but this time add half a cup of vinegar instead of baking soda before you go ahead and boil this water and vinegar concoction.
Finally, boil clean water to remove any remaining residue.
Tips for Choosing the Best Percolator for Camping
When you go shopping for a coffee percolator, you might find yourself drawn to modern, electric coffee percolators. Resist the temptation to scoop up one of those, unless you have an RV. What you want is a traditional coffee percolator.
Remember: simplicity is key when camping. After all, when trekking in the wilderness, you can’t be guaranteed anything, let alone electricity.
Alright, so we’ve established that traditional coffee percolators are the way to go. Now what?
Now it’s time to pay attention to the material design! You want your coffee percolator to be durable and strong. Go for coffee percolators made from metals that can withstand extreme heat such as titanium and iron or aluminum and chrome.
Because coffee percolators come in all sizes, you need to determine how many cups of coffee you’ll be serving on your average camping trip. Regular coffee percolators serve around four people (32 ounces) whereas large coffee percolators are enough for eight happy campers (64 ounces).
Keep in mind, the bigger the percolator, the heavier it will be.
The shape matters too, believe it or not.
You might notice that some percolators are cylindrical, whereas others are round. In general, cylindrical coffee percolators take up less space and are less awkward, too.
If you’re worried about coffee grounds seeping through:
Look for a quality percolator that features a basket with either a mesh sieve screen or a two-part sieve screen.
Finally, opt for a percolator with a clear knob at the top. That way, you’ll be able to see the water bubbling, and you’ll be able to tell whether your coffee is ready or not judging by its color.
Who Said You Had to Skip Coffee While Camping?
Camping means different things to different people.
For some, it’s an opportunity to explore the surrounding countryside. For others, it’s a chance to disconnect from social media. And yet others see it as the perfect excuse to catch up with family and friends.
Regardless of why you decide to traverse the wilderness, you probably want to make sure that you’re caffeinated at all times, especially if you’re a coffee fiend.
There are no fancy coffee shops in the middle of a forest or high up in the rugged mountains. So if you don’t want to rely on instant coffee, it’s good to be prepared.
A camping percolator is the easiest way to make a decent cup of coffee on the go. It’s what your parents used on their camping trips and their parents before them. Carrying on this tradition will pay off big time.

How To Sweeten Cold Brew Coffee (3 Quick & Healthy Ways)
Peaberry vs. Regular Coffee Beans – Are They Really Better?
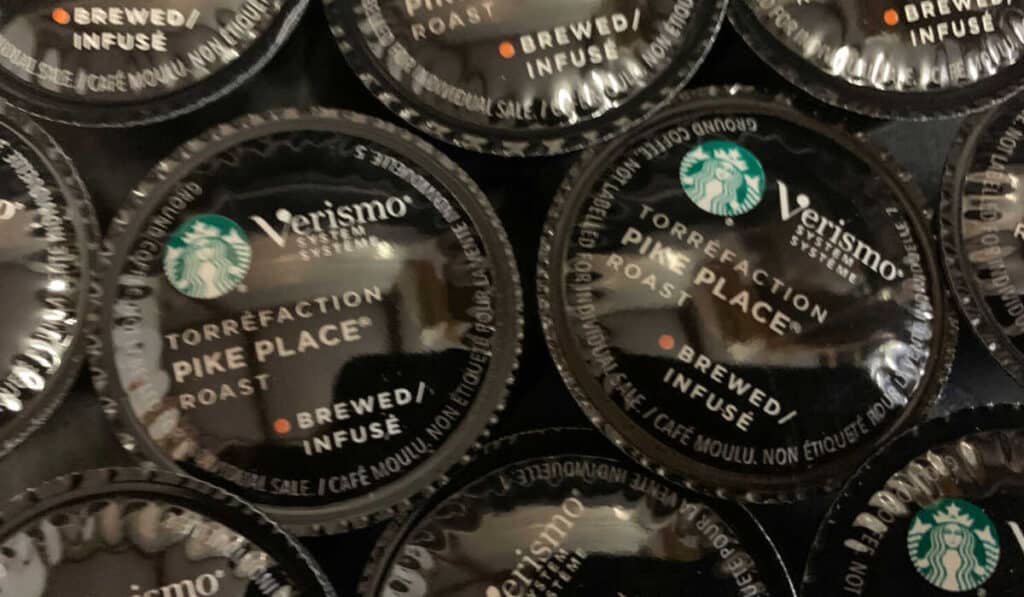
3 Best Alternatives To Starbuck’s Discontinued Verismo Pods
Flat White vs. Latte: What’s The Actual Difference?
What is the Shelf Life for Different Types of Coffee?